This guide is only for Yclas Self Hosted!
Creating the image / installing server
Introduction
In this guide we will teach you how to install Yclas Self Hosted in a VPS. We will be covering, Digital Ocean, VULTR and Linode
Requirements
- Apache 2+
- PHP 5.6+
- Short Tags
- GD support
- mod_rewrite
- mcrypt
- Gettext
- Curl
- MySQL 5+
Digital Ocean
VULTR
Follow this guide to install LAMP.
Linode
Follow this guide to install LAMP.
RoseHosting.com
Follow this guide to install it on Debian or contact their support team and they will install it for free.
Creating user DB
To install Yclas Self Hosted, you will need a Database and a Username.
Log in to MySQL with the root account.
The system will prompt you for a password. Use your MySQL root password.
Now, create a database to use for Yclas. We will call it yclas in this example.
Next, create a database user and assign a password. You can replace username ycuser and password to your password.
CREATE USER ycuser@localhost IDENTIFIED BY '_password_';
Grant permission to access the database.
GRANT ALL PRIVILEGES ON yclas.* TO ycuser@localhost;
Now set the new user and reload the privileges.
Exit MySQL
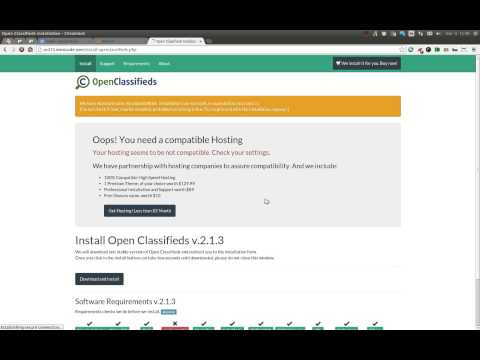
Install Yclas Self Hosted
- Download install-yclas.php
- Upload it to Apache’s document root
- Run http://yourdomain.com/install-yclas.php
- Press Download and Install
- Follow the steps
- Log in to your Admin Panel, create some Categories and Locations
- Working!
Watch this video if you want more detailed instructions.