One of the frequently asked questions is how to add categories and manage them. In this blog post you’ll find an answer to this question and a step by step manual.
Warning: We do not recommend adding more than 100 categories if you use a shared hosting. Otherwise, your website will work very slow.
How to add new categories
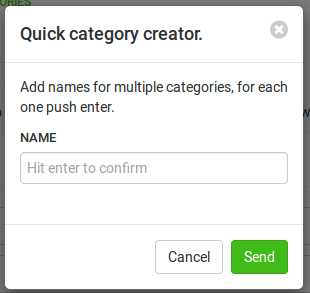
Quick method
At the quick category creator, add the name of the category, hit enter on your keyboard and, when you are done, press the ‘Send’ button as explained in the following screenshot.
Manual method
1. Go to Panel - choose Classifieds > Categories
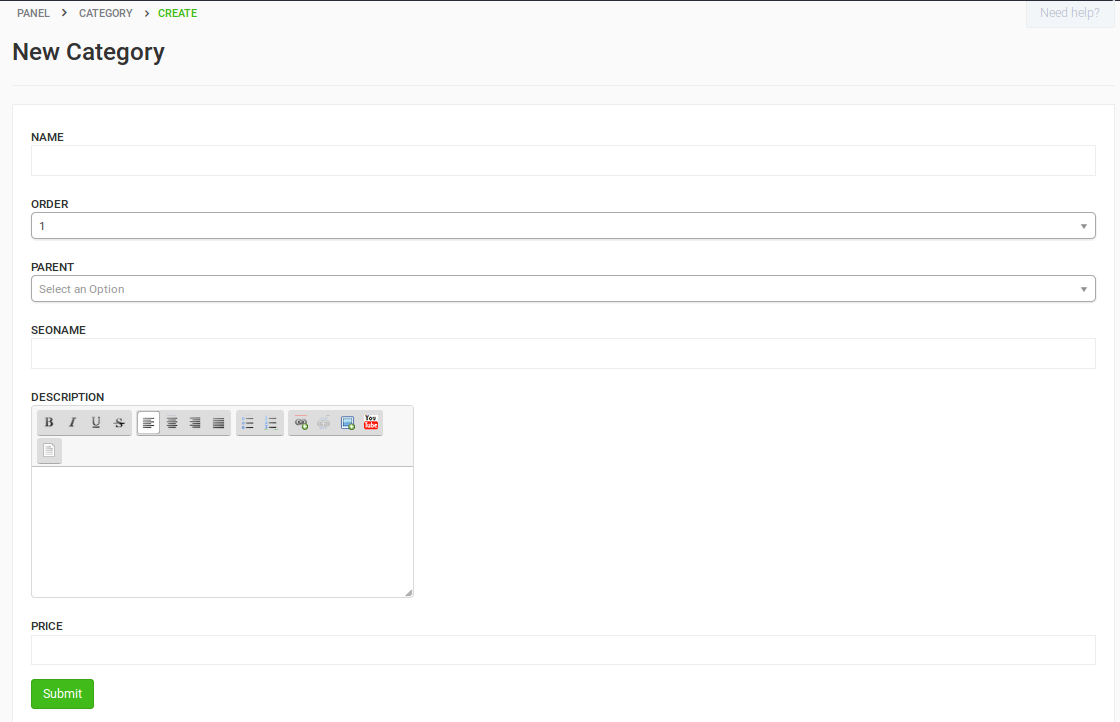
2. Press ‘New category’ button
3. Fill in the fields:
- Name: Choose a name for the category that will be displayed in a listing, e.g. “Jobs”, “Apartments”. Basically, this field is the most important, the rest are kind of optional.
- Order: You can choose the order in which the subcategories will be displayed within a parent category. It’s not obligatory - later you can just use “drag & drop” to change the order.
- Parent: Here you can choose and create main and sub categories. If you choose “Home Category”, that category will become the main one. If a category is choosen as “Parent”, everything within that category is a subcategory.
- Seoname: A seoname will be auto-generated based on the name of category, but you can change it if you want it to be different.
- Description: You can add a few words about what is available in this category.
- Price: If you want people to pay for posting in this category, set your price here. Leave blank if it’s free to post.
4. Press SUBMIT
After submitting, you should receive this message:
“Success. Item created. Please, to see the changes, delete the cache”.
Continue creating new categories if necessary, but remember to delete cache after finishing to see the changes. To delete cache, go to: Tools > Cache on the left sidebar and press ‘Delete all’. You can visit the site to see the changes you’ve made.
While adding categories, you should remember that only 2 levels of categories will be displayed in the theme and be accessible to view from the main page. If you want to add deeper categories, its recommended to use the “Categories” widget (watch how below).
Import Categories
Go to Panel -> Classifieds -> Categories, select “Import” and choose your csv file (example). More information here.
How to manage categories
Managing categories is very easy. Go to Panel, choose Classifieds -> Categories on the left sidebar.
Move/Change order
If you want to move categories and change their order you just need to drag and drop the selected category to the place you have chosen.
Edit
To change something, e.g. the name or description of the category, you can click the Edit button.
Delete
To delete a category, press the red button with a trash bin. Note that when you delete the parent category, subcategories within it will be moved a level up - to become the parent of the deleted category.
The category widget gives you additional options. To activate it go to Panel and choose Appearance > Widgets on the left sidebar. Choose ‘Categories’ widget from the list and click Create. Give a name to the widget’s title and choose if you want to display it in a sidebar or in the footer. You may also keep it Inactive. Thanks to this widget, navigation between categories is easier. A list of categories will be displayed at all times at the side or at the bottom of the page.
Video
Related Posts: