As we have posted in our blog earlier, you could now have ElasticEmail integrated into your e-mailing function in Yclas. You can do that for multiple reasons, and some of them could be: your server can’t send e-mails, e-mails not reaching users’ inbox or you want to trace the e-mails you’re sending.
How it works
Here are the simple steps you need to do to have it integrated into your website:
- Set up an ElasticEmail account
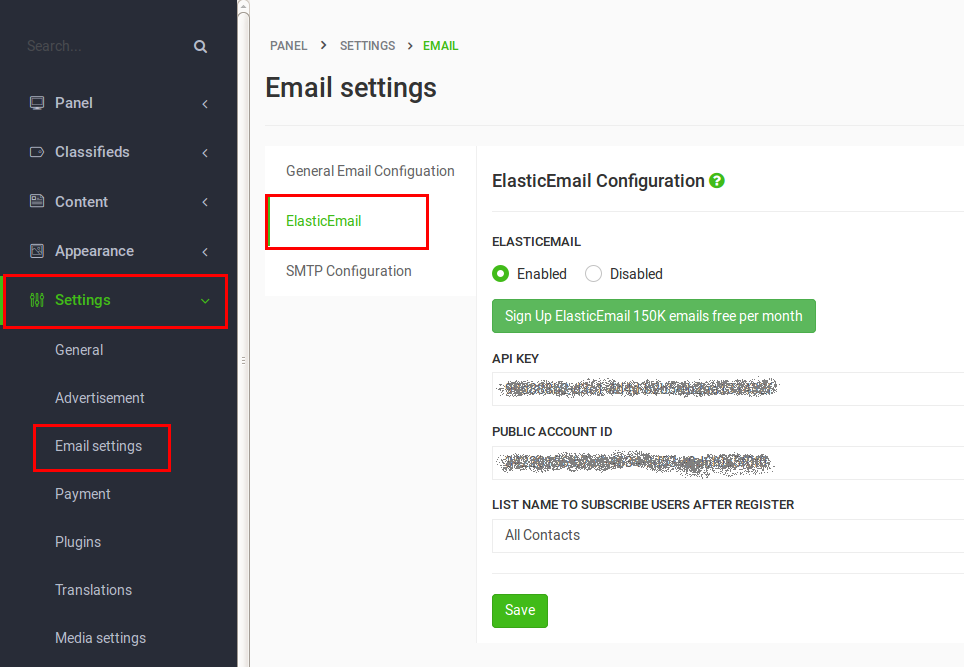
- Go to your panel, Settings -> Email -> ElasticEmail, switch ElasticEmail to Enabled.
- Go to your ElasticEmail account https://elasticemail.com/account#/settings -> SMTP/API and copy the API Key and Public Account ID, paste to your website admin panel, Settings -> Email -> ElasticEmail and press Save.
- Enter the name of the list that you want users to be automatically subscribed after they register. ElasticEmail provides instructions on how you can create a list.
- Press Save.
Now, every e-mail you send using the admin panel will be sent through your ElasticEmail account.
Regards.