This guide is only for Yclas Self Hosted!

There have been a lot of talking about HTTPS lately and the overall trend is saying that HTTPS is the future. So. in this guide, I will show you how to enable HTTPS on your classifieds site easily.
What is HTTPS and why should I use it?
HTTPS is the layering of HTTP on top of SSL/TLS. This basically means that the activities done on the website by users and owners are much more secure. So as a result, the HTTP traffic, including requested URLs, result pages, cookies, media and anything else sent over your HTTP connection, is encrypted when HTTPS is enabled. If an attacker is trying to interfere with your website’s connections – they cannot listen in and intercept traffic, or change it.
HTTPS is also useful for providing authentication to users of the website; it allows your visitors to identify your website and verify that it exists, is legitimate, secure and can be trusted. This level of security is compatible with search engines and their web crawlers, so adopting HTTPS indicates that you have a lot to gain.
Follow this link to read more about how and why Google is also encouraging this movement
What tasks will you need to do?
- Get an SSL certificate and install it on your server.
- Go to your website’s panel to make necessary system changes.
- Follow this link http://yourdomain.com/oc-panel/config/update/base_url
- Force a redirect from HTTP to HTTPS.
Get an SSL certificate and install it on your server
to do this, please note that seeking for assistance from a person with the technical experience/know-how OR contacting a hosting company for installation is advised. The use of CloudFlare is also another alternative.
For a free certificate (to install it on your server), you can go to: www.startssl.com. An example of a hosting company that offers paid certificates is Namecheap: www.namecheap.com/security/ssl-certificates.aspx
The CloudFlare alternative allows you to make use of SSL, without going through the complicated installation process. It also has a free option.
For more information on this, you can visit: www.cloudflare.com/ssl. Also, there is this tutorial for a free SSL CloudFlare certificate with Wordpress.
Once you have the SSL certificate and it is installed, proceed to the next task.
Go to your website’s panel to make necessary system changes
- Go to your website.
- Login into the Admin Panel.
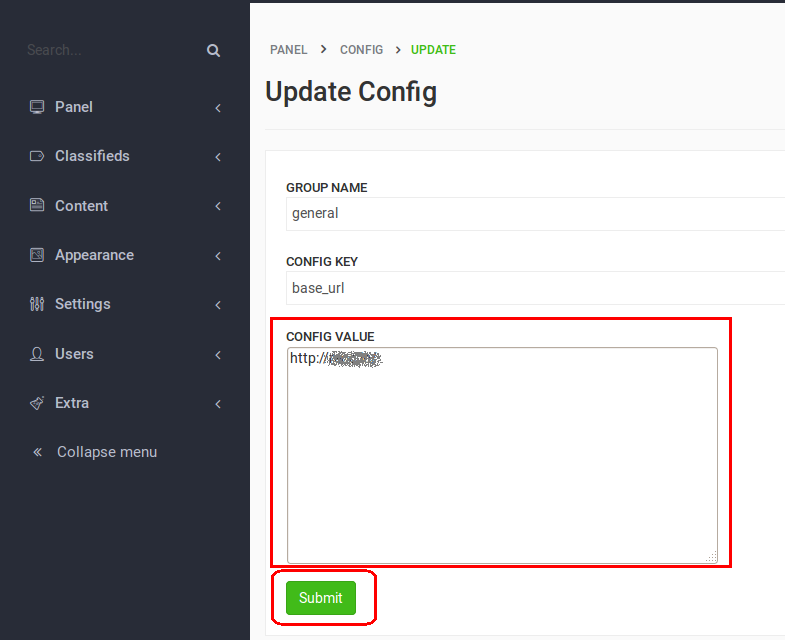
- Follow this link http://yourdomain.com/oc-panel/config/update/base_url
- Change the Config Value from http:// to https://
- Click on Submit/Save.
- Finally, go to Cache -> Delete All.
Once you have completed this, proceed to the next task.
Force a redirect from HTTP to HTTPS
Save the file and close it.
You have finished every the task and your site should have its https:// enabled.
Short Summary
If all tasks were completed successfully, your domain name should now be prefixed with “https://” instead of “http://” whenever your website is visited.
Depending on the type of SSL certificate you installed earlier, your website should now benefit from all the other new advantages, of using SSL Encryption.
If errors are being displayed by your website, make sure that you retrace your steps; so that the troubleshooting process is easier.
We hope that you were able to follow the instructions without much difficulty. Thank you for reading this guide and make sure that you subscribe to our blog for more useful posts.
Author: Tana