This guide is only for Yclas Self Hosted!
Yclas Self Hosted installation has never been easier. You only need a compatible hosting and you will be one step away from installing the software onto your website. If your hosting provider supports Softaculous (Installer tools that you can access through your Cpanel), the installation process will take just a moment.
Softaculous
- Access Softaculous on your cPanel
- Choose Yclas Self Hosted in Ads management
- Click Install
Check the following video that explains the process step by step:
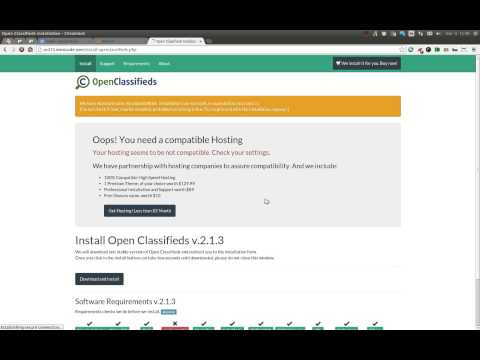
If your hosting provider doesn’t support Softaculous continue reading.
1 file Installation
- Download install-yclas.php
- Upload it to the root of your domain or wherever you want to install Yclas
- Press Download
- Follow the steps
- Log in to your Admin Panel, create some Categories and Locations
- Working!
Watch this video for more detailed instructions.
Traditional installation
- Download
- Unpack
- Run the installation in http://yourdomain.com/
- Follow the steps
- Login in Admin Panel, create some Categories and Locations
- Working!
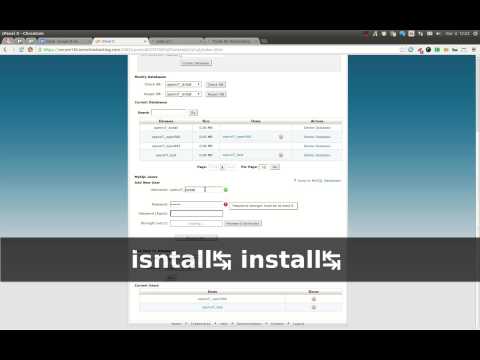
Note: To install it, you will need a Database and a Username created in your hosting. Follow this link to learn how to create a MySQL Database.
Theme Installation
For 2.x versions
- Go to Panel > Appearance > Themes
- Input your license number
Traditional installation
- Download the compressed file, either from the link in your e-mail or from your account at our market
- Uncompress the folder /themes/
- Go to the Admin Panel, area Appearance > Themes and select the theme
Old 1.X version installation video.
