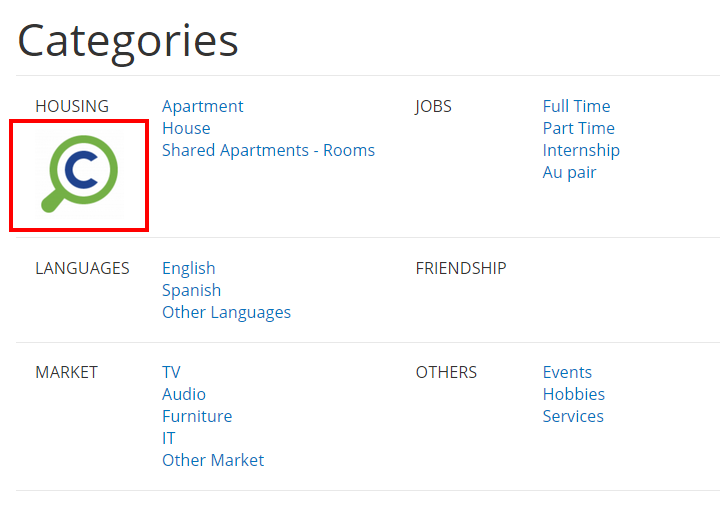
To make your categories recognisable, it is possible to add an icon to every category you have on your site. This option is available only in the premium themes. The uploaded logo appears in the home page, next to the category description as shown below.

Random icon uploaded to the Housing category at Home Page
How to do it
Adding icons to your categories is super easy! First of all, you have to create a category. If you are not sure how to do it, check out our useful tips.
Image icon
- If you’ve already created the categories, you need to go to Admin Panel > Categories. There you can find a list of the categories you have created.
- Click the button: Edit on the category you wish to update
- Find the field: Upload Category Icon
- Upload your icon (note: get your icon file ready in your preferred format with the recommended dimensions of 250px by 40px)
- Press Submit

By doing this, you will have the image inserted next to the category, at the slider small box and the full sized image after clicking on the category.
If you decide to change or delete your image, the steps are very easy as well. The red button : Delete icon will apprear under the uploaded icon. Just press a button, accept the operation and impose the changes.
Font icon
- Go to Admin Panel > Categories and create or edit a category.
- Find the field Icon Font
- Select an icon from the library
- Press Submit

By doing this, you will have the icon inserted next to the category on your site.
Related posts: